For newcomers to the terminal, one of the first challenges can be understanding where you are in the file system and visualising the directory structure. To help make sense of this, there is a handy display tool called tree.
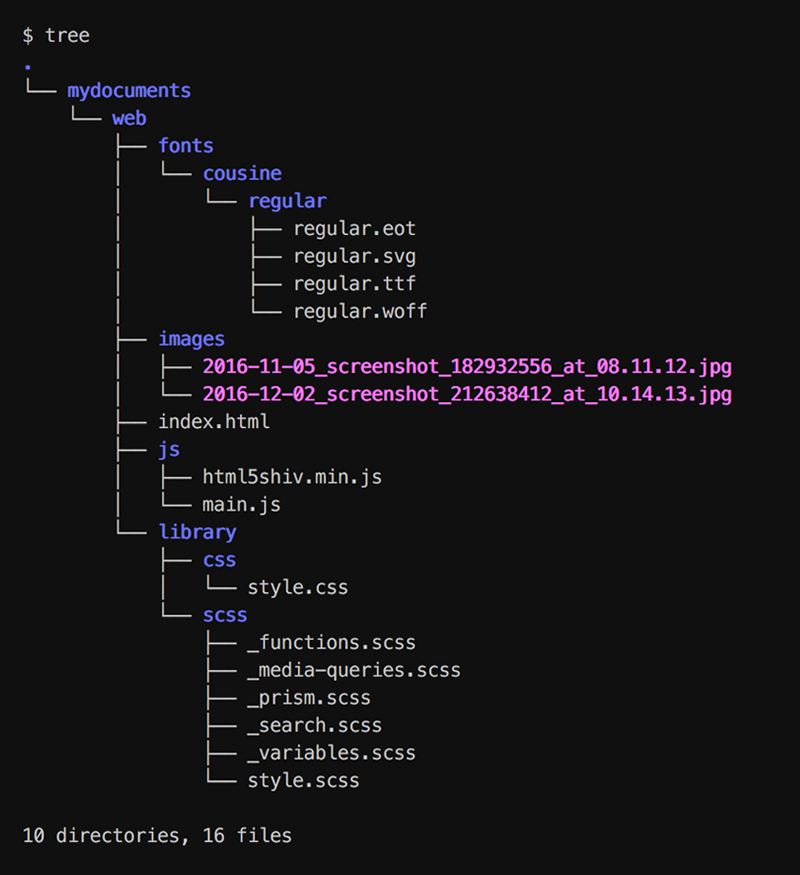
The tree command will take your current location and display a graphical tree-like format of all the sub directories and files contained within them. It is a very useful tool to take a quick peek of the directory structure which will help you visualise the contents. Here is an example of it in action:
This article will cover the basic usage of the tree command and explore some of the other cool things you can do with this tool.
Installation
Tree is available by default on some linux distributions, but depending on your platform / OS it may need to be installed. To verify if installation is required you can run this:
tree --version
To install on Ubuntu / Debian / Mint and other derivatives:
sudo apt-get install tree
To install on Fedora and other derivatives:
yum install tree
For OSX users, tree can be installed with Homebrew:
brew install node
Displaying the Tree
tree
The tree command without any arguments will recursively list directories and files below the current path. Hidden files are not listed by default, but if you have have used the ls command you will already be familiar with the -a option to include them.
tree -a
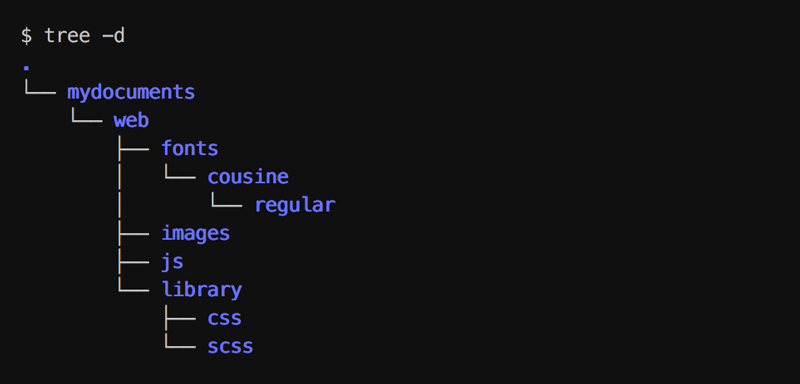
To exclude all files and list only directories you can use the the -d option. This can be helpful to display a compact view of the structure.
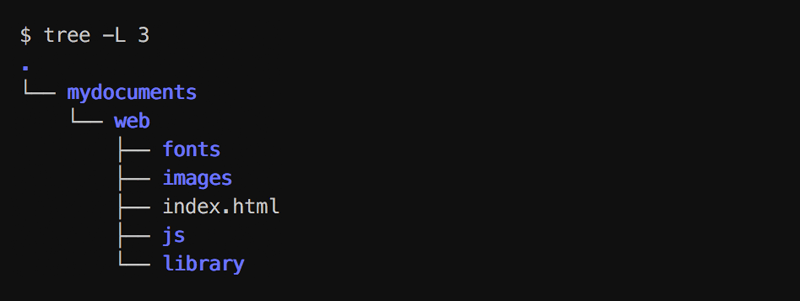
For directories with a lot of content you will expect to see a very large tree displayed. To limit the scope of the directory tree you can use the -L option. By passing a numerical parameter to this option you can set the maximum directory depth for tree to look within. For example:
tree -L 3
This will only look within the first 3 directories.
Tip: Pipe tree’s output to less to analyse large results
Utilising the less command can be a great way to easily navigate a large list of results with its scroll functionality.
tree | less
File Options
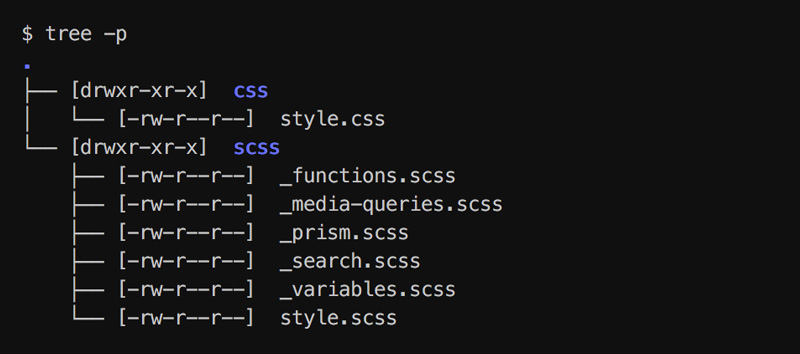
Extra information can be additionally returned with the various file options available. The -p option will display the current permissions for each file or folder:
File sizes can also be displayed with two options, -s to display the size in bytes or -h to display the size in a human readable format (KB, MB, GB).

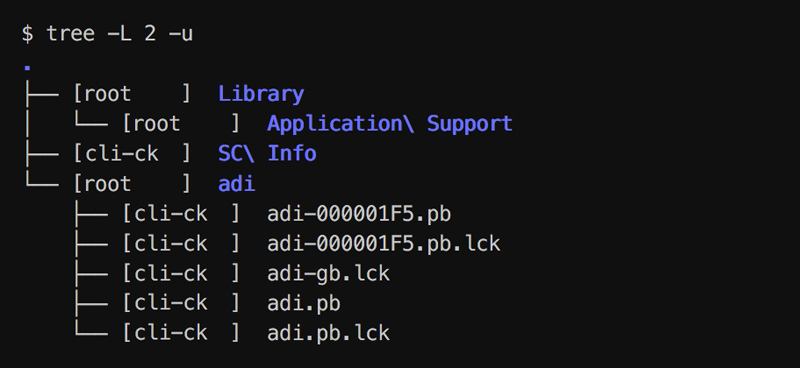
Another useful option is -u which will display the file owner.
Sorting Options
One of the features of tree that make it an especially great display tool are the various sorting options. By default, files will be listed in an alphabetical order but there is more you can do to suit your needs.
To display the result in a reverse alphabetical order you can use the -r option:
tree -r
You can make sure that directories are displayed before files with the --dirsfirst option:
tree --dirsfirst
To sort by last modification time you can use the -t option, this will display the most recent items at the top.
tree -t
You can also use the -c option to order by most recently changed items:
tree -c
A recently changed item refers to the last time meta data of the file was changed (eg. permissions).
More Info
This article only covers a small portion of what tree can do. For the complete list of available options, check out the manual:
man tree