For a large number of systems, less is the default utility for viewing text files. It was first released in 1984 by developer Mark Nudelman and is still going strong today.
Less is a lightning fast pager and is able to open huge files without breaking a sweat. Due to it’s speed and simplicity it has become a widely popular cross-platform tool.

This article will take a detailed look at the less pager and also explore some of the lesser-known features beyond the basics.
Open / View
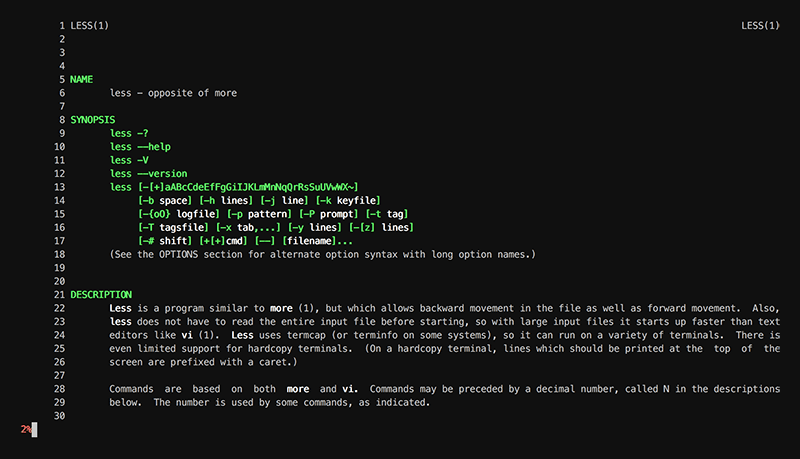
As the default paging tool for many systems, the first encounter with Less is often from viewing manual pages. The man command will summon the dedicated manual page for almost any command or tool. To learn more about the man command itself and introduce yourself to Less you can run this:
man man
You can exit Less at anytime by pressing the q key.
To open a file with Less you can simply pass the file path to the command:
less somefile.txt
If the file is contained within a directory you can select the file like this:
less subdirectory/somefile.txt
A common task is to redirect the output of a command to Less. Lets say you are using the Tree command to list the contents of a large directory. The output may span multiple pages, which can be difficult to evaluate. By redirecting the output to Less you can then take advantage of the Less navigation features to easily analyse the information. This can be achieved with the | pipe operator which will pass the output of one command to another for further processing:
tree | less
Navigation
The simplest form of navigation is to use the up and down arrow keys to scroll one line at a time. However, getting to know a few more keystrokes is well worth your time. Here are some of the most useful navigation keys for getting around:
- k scroll up a single line
- j scroll down a single line
- u scroll up half a page
- d scroll down half a page
- f goto next page
- b goto previous page
- g goto beginning of file
- G goto end of file
For OSX users you can also use the function key fn and the arrow keys for navigation:
- fn + ↓ goto next page
- fn + ↑ goto previous page
- fn + ← goto beginning of file
- fn + → goto end of file
Bookmarks
When exploring a file you may spot something interesting that you would like to return to later. This can be achieved with the marker functionality built into Less. You can set bookmarks at specific locations within the file and quickly jump back and forth between them. Bookmark positions are defined by a single letter, which can be lowercase or uppercase.
To set a bookmark you first press the m key which will activate the marker prompt:

Then enter a single letter which will be saved as the bookmark reference. With the choice of lowercase or uppercase letters there are up to 52 possible marker positions.
To jump to a bookmark location, first press the apostrophe key ‘ which will activate the goto prompt:

Then enter your letter to jump to the saved location.
Tip: There are two predefined marker positions available
‘ + $ will jump to the end of the file and ‘ + ^ will jump to the beginning of the file.
Searching
The best way to find exactly what you are looking for is to search for it. With Less you are able to search for a keyword and it will highlight any matches for you. There are a few different search modes and various methods to navigate the results.
To begin a regular search, press the / key which will activate the search prompt:

Followed by your keyword:

Less will then highlight any matches for you.

The display will jump to the line where the first match appears. If there is more than one match you can scroll to the next instance by pressing the n key. You can also scroll to the previous match by pressing the uppercase N key.
When you are midway through a document, it might be useful to search backwards to see if you have missed anything. This can be achieved by typing the ? followed by your keyword (instead of /).

This will also reverse the functionality of n and N which will now scroll in the opposite direction!
One more helpful search option is ^K which will perform the search but will also keep your current reading position. This is handy when you want to search for something but prevent the page from automatically jumping to the closest result. The following key combination will activate this option: / + ctrl + k

The prompt will be displayed and you can then enter a search term.
Follow Mode
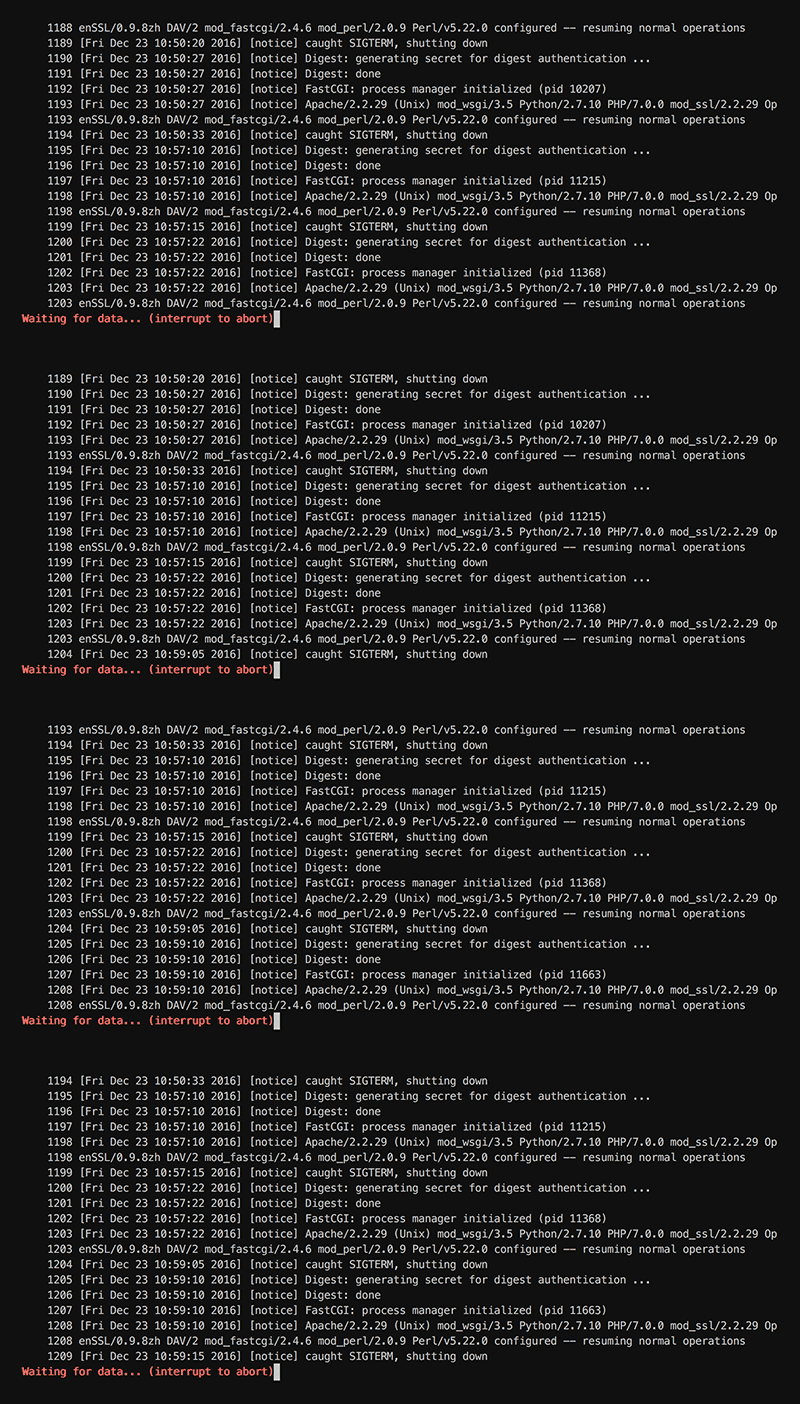
Another cool feature which is not widely known, is the follow mode which is similar to the popular tail -f command. With the follow mode enabled, Less will monitor a file and refresh the contents if any new data is appended. This is perfect for monitoring files such as error logs to evaluate issues in real time.
It can be activated when opening a file by passing the +F option:
less +F somefile.log
The follow mode can also be initiated while viewing a file by pressing shift + F at any time within Less.

The advantage of using Less over Tail is that you can quickly switch to the regular mode and take advantage of the other features such as file searching and navigation. To exit the follow mode you can simply press ctrl + c
Configuration Options
There are a large amount of options to customise the functionality of Less and they can be activated in a number of ways. One method is to pass them as a command line option when opening Less.
In this example, the -e option will cause Less to automatically exit when the end of the file is reached:
less -e somefile.txt
An option can also be switched on or off within Less itself by entering the option command at anytime. By entering -e you will see a prompt displayed, press the return / enter key ↵ to confirm the configuration change:

The following options are a few of my favourite improvements to the default configuration:
Ignore Case
Widen search results by telling Less to ignore case sensitive searches, unless an uppercase letter is specifically requested in the search query.
Status Column
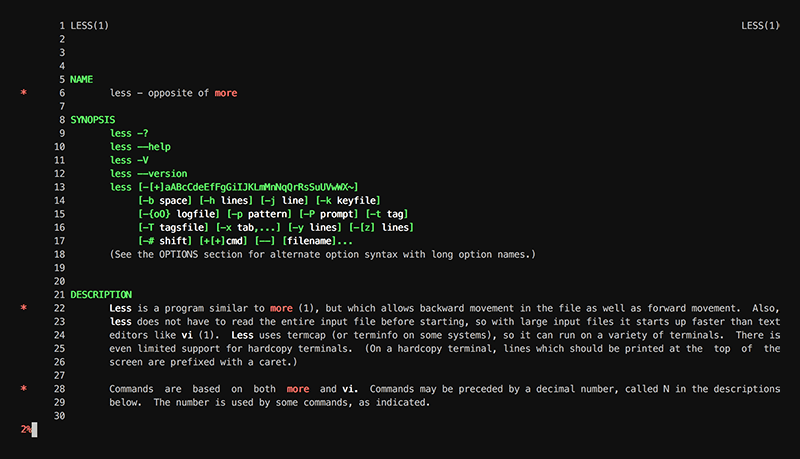
This will add a small column to the left which will allow space for a small asterisk symbol * to be displayed when a search result has been found. This is a nice feature which will increase the visibility of search hits.
Read Percentage
With this option enabled, the prompt will display extra information about the file which will indicate the length of the read. At first this information will be displayed in bytes, but when you have reached the end of the file and Less has analysed the full file it will then become a percentage.
A little trick when first opening a file is to quickly jump to the end with G and then back again with g and you will have the percentage displayed. This is a handy display option to gauge the size of a file when reading.
Line Numbers
This will display a small column for line numbers just like your favourite text editor. With this option enabled it is also easier to visualise the line jump navigation which is available. You can quickly jump to any line within a file by typing a line number followed by g.
The following example will jump to line 100:
100g
Less can also be opened at a specific line, the following example will open Less and jump directly to line 100:
less +100 somefile.txt
For the full list of available options, take a look at the help page:
less --help
Environment Variable
To permanently store configuration settings you can update the Less environment variable. An environment variable can be added to your shell profile file such as ~/.bashrc or ~/.zshrc.
The following example will set some of the configuration options to be used as the default settings.
export LESS="-iJNm"
Now when Less is opened, it will automatically apply these options.
Adding Colour
In the previous screenshots you may have noticed that the manual pages are displayed in colour. This is not enabled by default but colour styles can easily be activated and customised to your preference. Defining a colour scheme can enhance the reading experience and is especially helpful for making keyword search results stand out.
The following code snippet is an example of the colour scheme seen in the previous screenshots. To activate these settings, place this in your shell profile file (along with the environment variable).
export LESS_TERMCAP_mb=$(printf '\e[01;31m') 	# begin bold - red
export LESS_TERMCAP_md=$(printf '\e[01;32m') 	# begin blink - green
export LESS_TERMCAP_me=$(printf '\e[0m') 		# leave bold / blink
export LESS_TERMCAP_se=$(printf '\e[0m') 		# leave standout
export LESS_TERMCAP_so=$(printf '\e[01;31m') 	# enter standout - red
export LESS_TERMCAP_ue=$(printf '\e[0m') 		# leave underline
export LESS_TERMCAP_us=$(printf '\e[01;37m') 	# enter underline - white
For a full explanation of how the colour settings work, check out this excellent tutorial over at TuxArena.
Syntax Highlighting
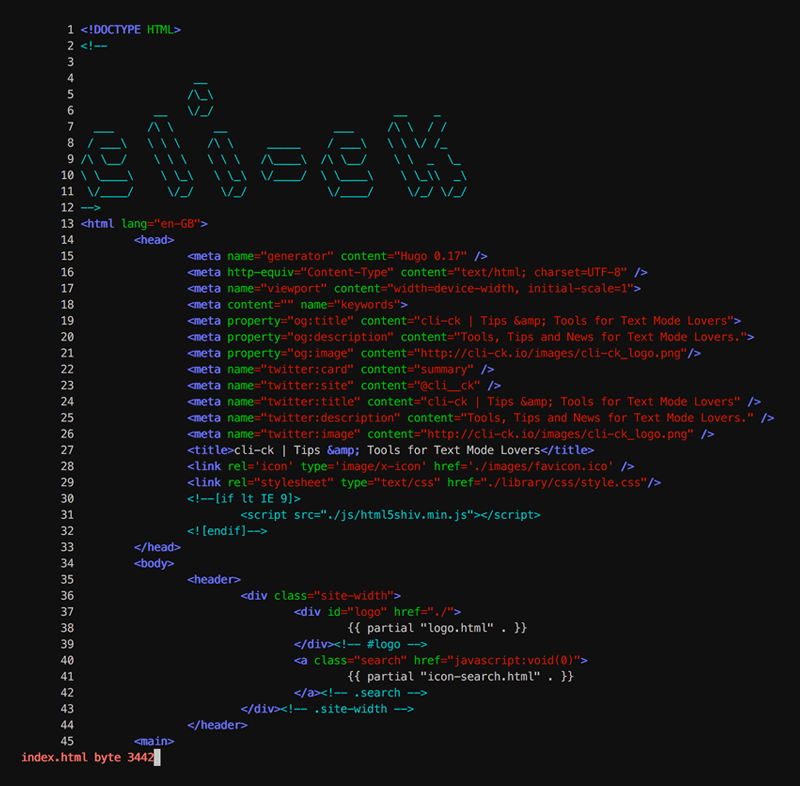
For extra colour support, you can add syntax highlighting to Less with the GNU source-highlight tool.

For OSX users, source-highlight can be installed with Homebrew:
brew install source-highlight
To enable source-highlight, add the following to your shell profile file:
LESSPIPE=`which src-hilite-lesspipe.sh`
export LESSOPEN="| ${LESSPIPE} %s"
For syntax highlighting, you will also need to add the -R option to the Less environment variable, this will ensure that colour is handled correctly:
export LESS="-R"
Summary
Less can be a surprisingly powerful tool when used beyond the default functionality. As always, there is much more to discover and this article does not cover everything you can do.
A full list of commands can be accessed at any time within Less by pressing the h key, which will open the help page. You can also get extra meta by viewing the Less manual page with Less itself:
man less
This tool is now over 30 years old and incredibly, it is still under active development. Check out the official website for the latest news and releases.